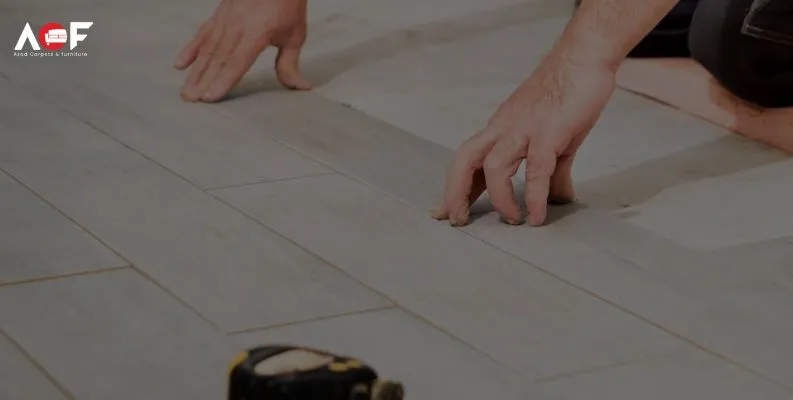
How to Remove Laminate Flooring: A Simple Guide
If you follow the correct procedures, removing laminate flooring is simple and enjoyable! Start by removing the baseboards or trim, then use a pry bar to lift the planks one row at a time. After you’re done, clean the floor underneath. The following guidelines will assist you in getting your space ready for new flooring. To view some amazing floor transformation ideas, visit Azad Carpets & Furniture.
Why Take Out Laminate Flooring?
Although laminate flooring looks fantastic, it occasionally needs to be updated. Perhaps it has water damage, or you want to give your house a new look. With a few tools and a little work, you can remove laminate flooring yourself, regardless of the reason.
Tools You Will Need
Get the following supplies before you begin:
- Hammer
- Utility knife
- Pry bar
- Gloves to keep your hands safe
- Goggles for safety
- Vacuum or broom
- Debris-related trash bags
You can operate more effectively and safely with these tools.
Detailed Instructions
Step 1: Make the space clear
First, remove everything from the room’s furnishings, carpets, and decorations. This guarantees that nothing is harmed throughout the procedure and provides you with room to work.
Step 2: Remove the baseboards
The wooden trim around the floor’s margins is called baseboards. With a hammer and pry bar, carefully raise them off the wall. If you wish to reuse the boards again, work slowly to prevent cracking.
Step 3: Lift the Laminate Planks First
- Locate the Beginning Point: Find a corner or edge of the flooring where the first plank may be lifted with ease.
- Make use of the Pry Bar: Gently raise the first plank by sliding the pry bar under its edge. As you can see, the boards are linked together, making them simple to remove.
- Work in Rows: If you intend to reuse or recycle the planks, remove them one at a time, stacking them neatly.
Step 4: Remove the Underlay
The underlay will be visible once all of the laminate boards have been removed. The flooring is cushioned by this soft layer. Remove it by rolling it up. Use a scraper or utility knife to dislodge anything that is adhered to the floor.
Step 5: Clean the Subfloor
Clean the subfloor to get rid of dust and debris, and sweep or vacuum the subfloor. To be ready for new flooring, look for any adhesive, nails, or staples that might have been left behind and take them out.
How to Remove Laminate Flooring Safely
- Put on goggles and gloves:
Keep dust out of your eyes and sharp edges away from your hands.
- Take Care When Lifting
To avoid harming yourself or the planks, don’t use too much force.
- Take Your Time
To prevent breaking anything, take your time, especially in confined areas or around corners.
- Get Rid of Materials Correctly
For information on how to get rid of old laminate and underlay, check your local recycling regulations.
What Comes Next?
You will have a clean subfloor that is prepared for new flooring when your laminate is removed. Whether you’re putting in new carpet, vinyl, or laminate, being ready is essential to a successful outcome.
Conclusion
Anyone can accomplish the easy do-it-yourself task of removing laminate flooring. You can remove outdated flooring and get your room ready for a new look with a few simple tools and cautious techniques. To make your space come to life, always remember to work carefully and look into different flooring options!


Comments are closed